Classlist
- About Classlist
- How do I email the entire class at one time?
- How do I add people to my Pilot Classlist?
- How do I add and impersonate the Demo Student?
- How do I use the Attendance Tool in Pilot?
- How do I view my Classlist by section or group?
- Can I see my Classlist with student photo IDs?
- What if I'm not receiving emails from students?
- Can I grant an Incomplete student access to a past course?
- Can I change my email signature in Pilot?
- How do I add TA to multiple sections of a course?
About Classlist
In the Classlist area of Pilot, instructors can view the students enrolled in a course, add teaching assistants, send email to individual students or the entire class, and verify the last time a student logged into the course.
How do I email the entire class at one time?
You can email the students in your Classlist and Pilot will send the messages to your students’ Wright State email addresses. The return address is also your Wright State email address. Although you can send a message from within Pilot, you will not receive replies in the learning management system. Any further email communication occurs in the Wright State email system. To email your whole class, see instructions below.
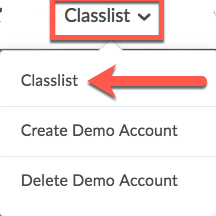
Click “Classlist” on your course’s navigation bar and choose Classlist from the drop-down menu.
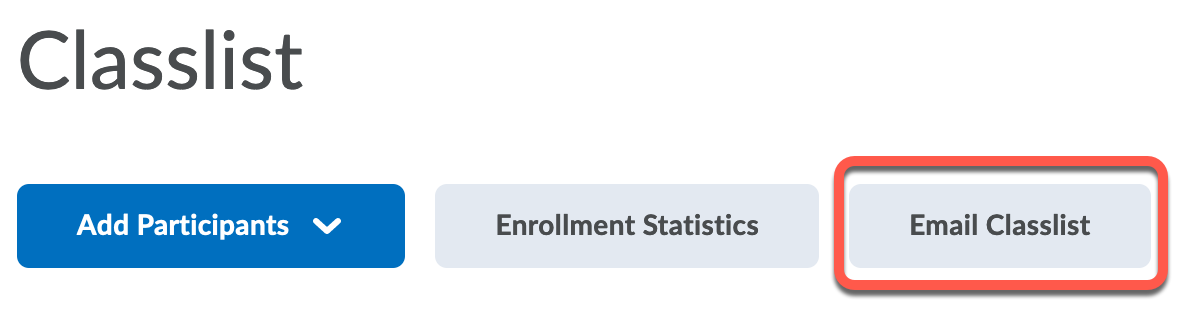
Click the “Email Classlist” button, which is in the row of buttons just below the page title “Classlist.”
Scroll to the bottom of the list of students and click “Send Email” to get the Compose Message screen to appear. In the “Compose New Message” window, you’ll see all your students’ email addresses in the “Bcc” field. That’s normal. You don’t need to put anything in the “To” or “Cc” fields. After you compose your message, click on the “Send” button at the top of the window.
How do I add people to my Pilot Classlist?
Your class list is automatically populated with students who are registered for your class. You can add students, teaching assistants and observers (or even other faculty) to the course. If a student drops your class, his/her name should drop off of your Classlist. If not, verify that the student officially dropped and contact the CTL to remove his/her name. Before you add a student to your Pilot course, be sure to verify that he/she is officially registered for the course.
To access your class list, click on Classlist on the navigation bar.
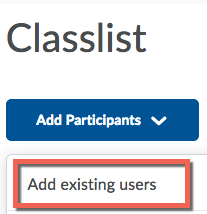
When the Classlist appears, click on Add Participants, then Add existing users (this refers to users that exist in the WSU system, not just the course).
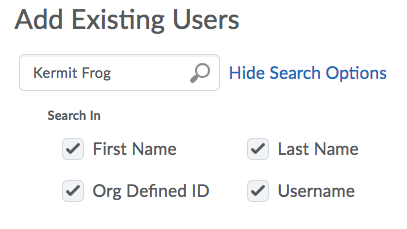
On the next screen, put search terms in the Add Existing Users box to find the person you want to add. Use first name and last name, “w” number, or UID:
Check the box beside the person’s name. Select a role (i.e. student, faculty, teaching assistant, etc.), and select a section from the dropdown menus.

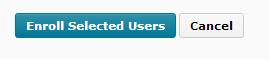
Click on Enroll Selected Users.
After confirming that the student name and role are correct, click on Done.
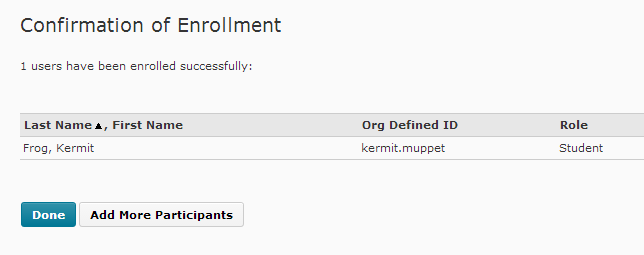
The user’s name will now appear in your Classlist with the privileges that you have assigned them.
How do I add and impersonate the Demo Student?
See your course as students see it. A demo account lets you test your course before it goes live. You can even take quizzes and view grades to make sure everything is configured correctly. Once the class starts, use the demo account to troubleshoot when things don’t behave as you expected.
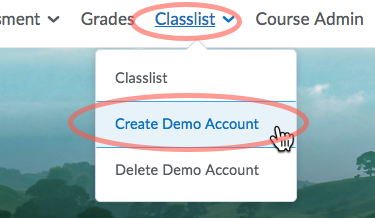
Click “Class List” on the course navigation bar and select “Create Demo Account.” The demo student will be created and will appear in your Classlist.
To impersonate the demo student, click “Classlist” and find the demo account. It’s name starts with “ZZ” so it is usually at the end of the list.
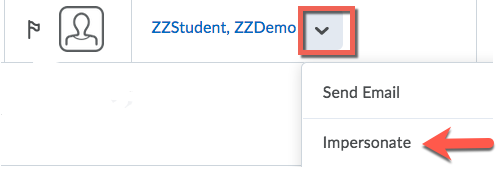
Click the arrow to the right of the name and select “Impersonate.“
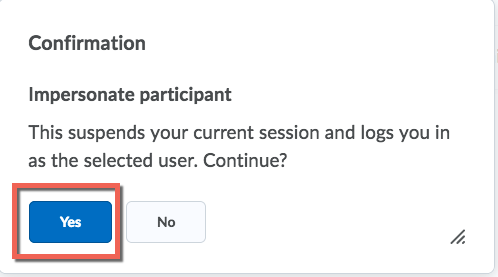
Confirm that you want to impersonate the Demo Student.
The Demo’s name will appear in the box in the upper right corner of your screen. You can now view the course as your students will see it, including taking quizzes and viewing the gradebook.
When you are finished, click the Demo Student’s name, then click the “X” beneath it to exit impersonation mode and get back to your own role in the course.
How do I use the Attendance Tool in Pilot?
Turn on the Attendance Tool
Pilot provides an optional Attendance tool that allows you to keep track of your students’ class attendance. The tool allows you to create multiple registers and customizable sessions within each register. The Attendance tool is NOT turned on in your Pilot course, but you have the ability to activate it.
To do this, click on Course Admin and then on Tools. This will be found toward the bottom of the page in the Administration category.

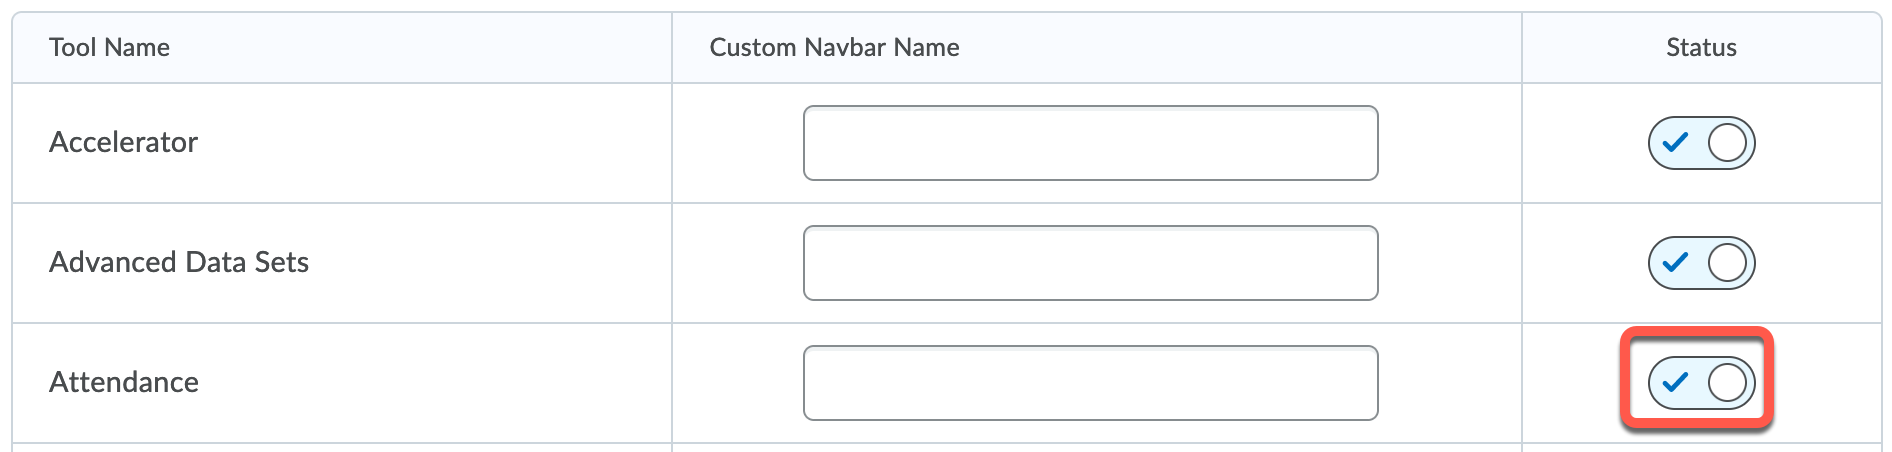
Activate the tool by clicking on the box to the right of “Attendance” so the “x” turns to a “√” .
Create a Register
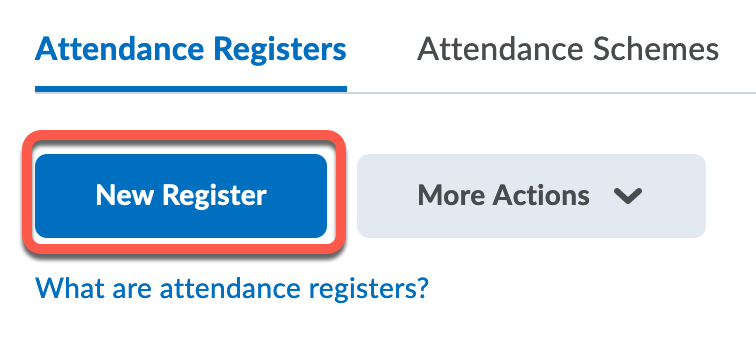
Click on Attendance in the navigation bar and then click the New Register button.
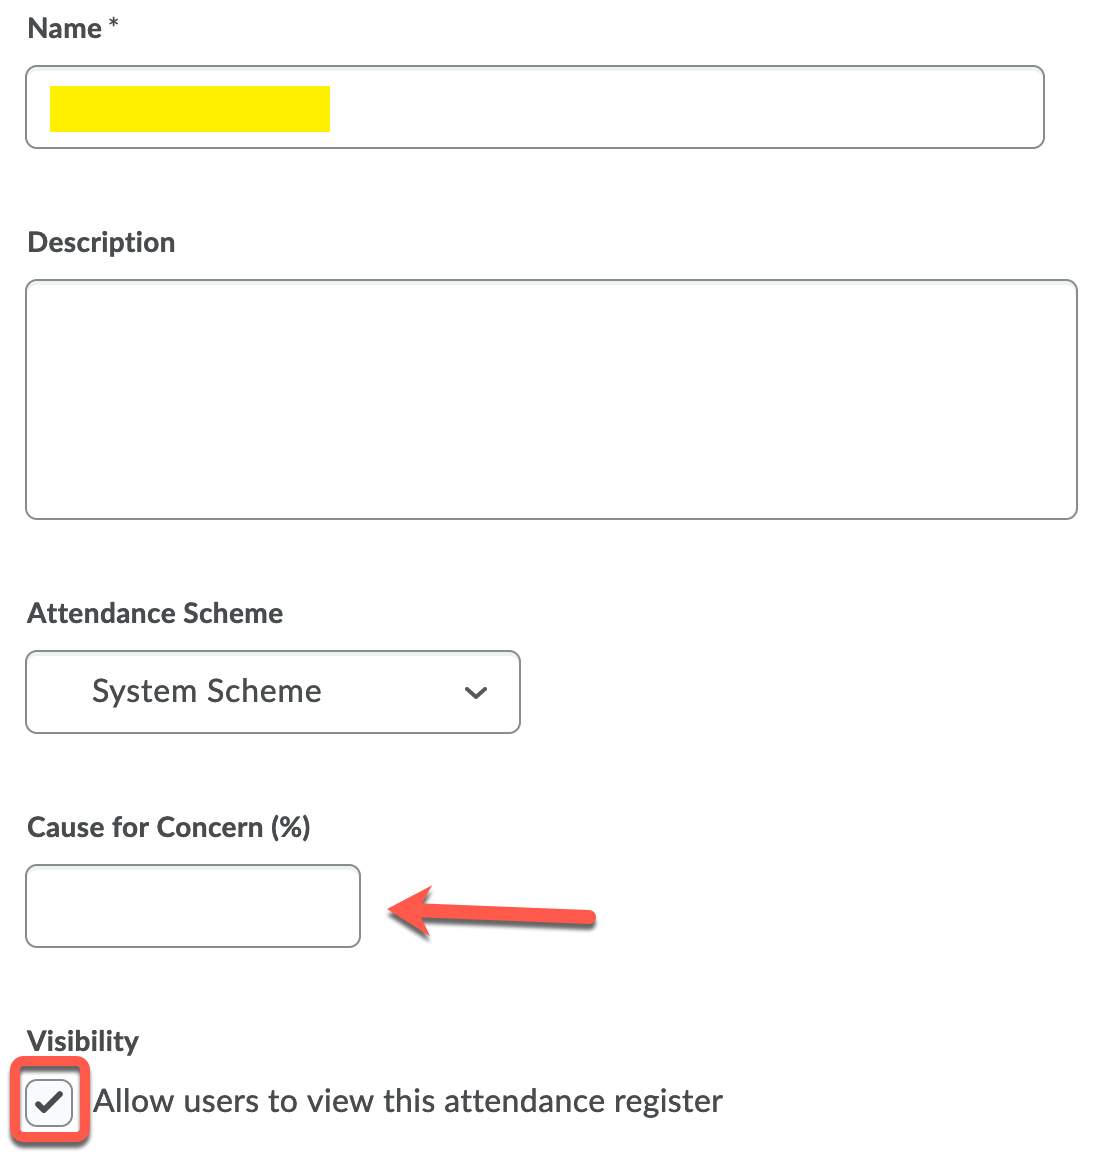
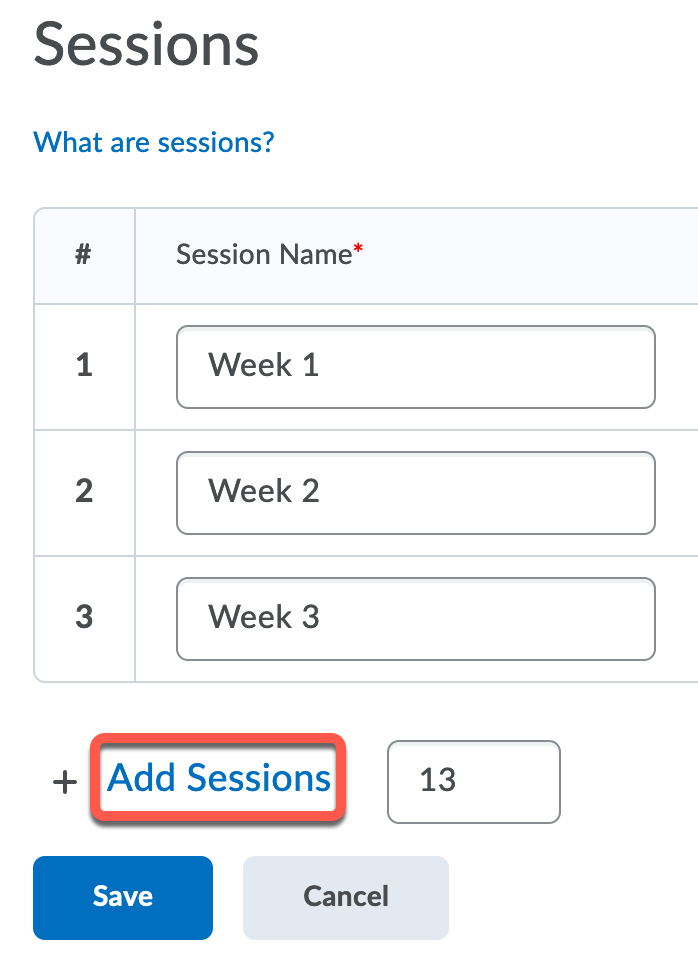
Name the new register and set a percent attendance threshold in the Cause for Concern (%) box if you want to flag students that have missed too many sessions. Check the Visibility box if you want students to be able to view the register.
Enter the number of sessions that you want to record (minus the first three that are already showing) and click on “Add Sessions”. You also need to name these sessions, which is typically named for each week of the course.
Record Attendance
Click on Attendance in the navigation bar. Select the register and then the class session.
To record attendance for the entire class, click on Set Status for All Users. Select the status to assign to all users. Click Save.
To change the status of individuals, check the boxes beside their names and click on Set Status. Click on Save at the bottom of the screen.
Different Register Schemes
If you want to record attendance using symbols other than P (present) and A (absent) you can create a new Attendance Scheme.
Attendance schemes provide the criteria for marking attendance in a register. Each attendance register uses one attendance scheme, which you assign when creating a new register. The register defines the applicable users and sessions, and the attendance scheme defines the attendance statuses that you can give to users for each session.
For example, a simple attendance scheme defines two possible attendance statuses: present and absent. If you apply this scheme to an attendance register, you have two options for marking attendance for the register’s sessions. Mark users that attend a session as present and users that do not attend as absent.
You can create more complex schemes that define more statuses such as late and authorized absent. This provides flexibility to accommodate a wide range of attendance options.
Creating an Attendance Scheme
Click Attendance Schemes from the tool menu.
Click New Scheme.
Enter a Name for your scheme.
In the Attendance Statuses section, enter a Symbol, Status Full Name, Assigned % and Order for each of your statuses.
If you need more than three statuses, click Add Statuses. Enter a number in the corresponding field to add multiple statuses at one time.
Click Save.
How do I view my Classlist by section or group?
If your course has multiple sections that are combined (“crosslisted”) into one, you can view the Classlist one section at a time. This also works for groups that you’ve set up in Pilot.
Next to “View By,” click the menu that by default says “Users.”
Select “Sections.” (Or “Groups”)
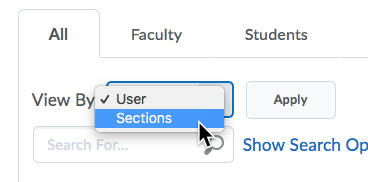
Click “Apply.”
In the “Sections” menu, select what you want to view.

Click “Apply” again and the Classlist will show only the students in the section you chose.
Can I see my Classlist with student photo IDs?
Pilot can help you match students’ names to faces. Unfortunately, the Classlist only shows photos that students choose to upload to their Pilot profiles.
To see what your students really look like, add the “Classlist with Images” widget to your homepage.
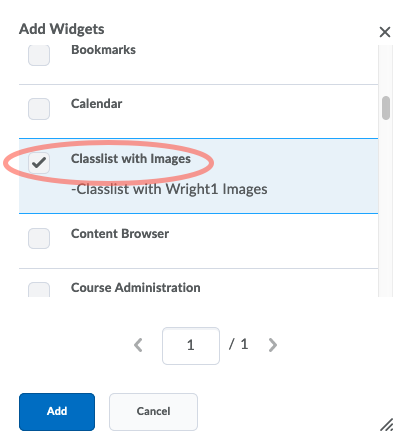
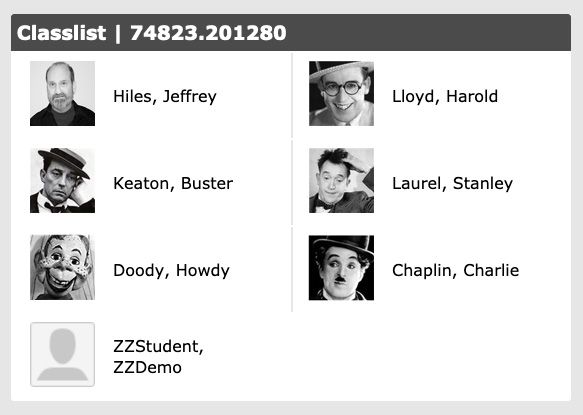
Once it’s on your homepage, it has a link that opens a window with a list of students in your class. Next to each student’s name is the photo used on that student’s Wright1 ID card. Only you will see the widget, your students won’t.
Below is a simulation of a classlist with photos.
See the Customizing Your Pilot Page for instructions on how to add a widget to your homepage.
What if I'm not receiving emails from students?
Not seeing those emails your teacher sent? They might be in your Clutter folder.
The Microsoft service that Wright State uses for your official student email includes a “Clutter” feature. It can simplify your life. But it can cause you to miss important email from your instructors. To avoid problems, you can…
- check your Clutter folder often,
- train your Clutter folder,
- make rules to keep some messages out of Clutter, or
- turn off the Clutter feature.
The following directions are for the Outlook Web App, which you can log into at this URL: outlook.wright.edu
Check Your Clutter Folder Often
It’s easy to forget that some of your incoming email never hits your inbox. It gets routed to a folder named Clutter. This folder weeds out the kinds of email you are least likely to read. Unfortunately, Clutter often catches messages that faculty send from within Pilot courses. So look inside your Clutter folder regularly to make sure you haven’t missed something important.
You will see the Clutter folder in the list of folders in the left column after you log into outlook.wright.edu
Train Your Clutter Folder
You can make the Clutter feature smarter. It learns what you consider important and what you don’t. So when you find a course email in your Clutter folder, move it to your inbox and look at it to show Clutter that’s where it belongs.
To move a message from Clutter to your inbox, hover over the email message and click the small icon that appears:
Make Rules to Move Messages
You can make “rules” in the Outlook Web App that will handle your emails in ways that you choose. For example, you could choose to direct certain messages to a specific folder. You could have Clutter do that for all emails with the name of a particular in course in the subject line. Or you could base a rule on messages with your instructor’s email as the return address.
Log into the Outlook Web App and click the gear-shaped Settings icon at the top right of the window.
![]()
Near the bottom of the Settings bar that appears, click “Mail.”

Under the Mail Options that appear on your left, click “Inbox and sweep rules.”
For more information about rules, see Organize email by using inbox rules.
Turn Off the Clutter Feature
You can turn the Clutter feature off so you don’t have to worry about it. All emails that would have gone into the Clutter folder will go to your Inbox folder:
Log into the Outlook Web App and click the gear-shaped Settings icon at the top right of the window.
Near the bottom of the Settings bar that appears, click “Mail.”
Under the Mail Options that appear on your left, click “Clutter.”
Uncheck “Separate items identified as clutter” and click “Save.”
Your Clutter folder will remain in your list of folders. And it will still have all the messages that were in it before you turned Clutter off. But no more messages will go into the folder automatically.
Can I grant an Incomplete student access to a past course?
To finish an incomplete, a student needs access to your Pilot course from a previous semester. Here’s how you can make that happen.
Go to the Classlist of the course in the previous semester, check the box in front of the student’s name, then click the Enrollment link at the top of the page. This will take you to the “Change Enrollments” page.
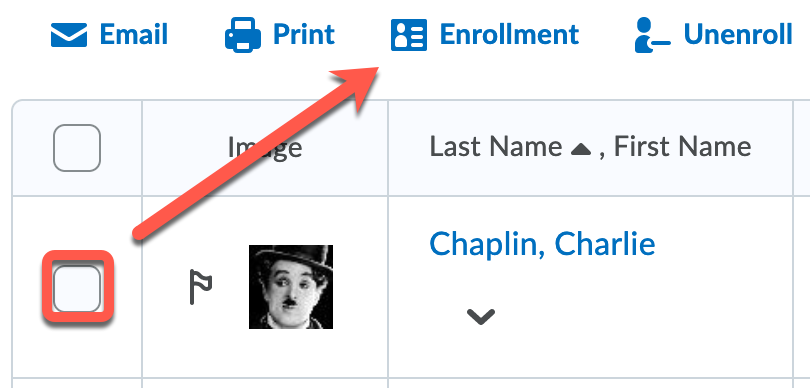
On the “Change Enrollments” page, select Student Incomplete for the New Role.
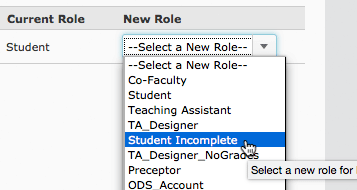
Click Save and you’re done.
Can I change my email signature in Pilot?
Pilot can add a custom “signature” new emails. Getting to that setting is a little tricky, though. In most places you would expect to find it, faculty and students either don’t see the option or get an error page when they try to access it. But it is available to faculty and students under email settings in the “Sent Mail” area:
Click “Communication” inside a course and select “Email” from the menu.
On the “Compose New Message” screen, click “Sent Mail,” a button near the top right.
On the “Sent Mail” screen, click the “Settings” link and you should be able to add the signature line.
How do I add TA to multiple sections of a course?
Pilot will only allow you to enter one section when you add TA's to a course, but you can assign them to additional sections once they have been added. To assign more than one section to your TA's, please add them to the course and then follow the steps below:
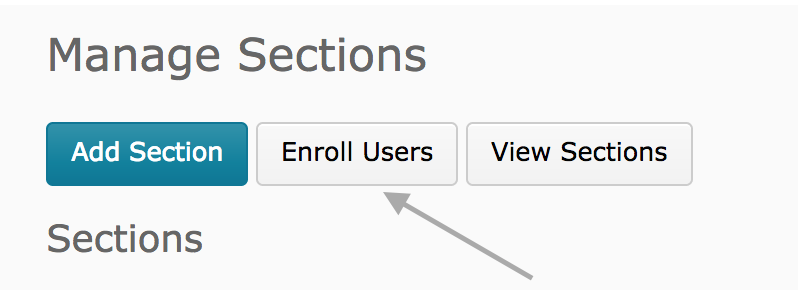
Click on Course Admin on the course’s navigation bar and select Sections.
On the Manage Sections screen, click on Enroll Users
On the Enroll Users screen, find the TA's in the list and then check the box for each section you want to add them to.
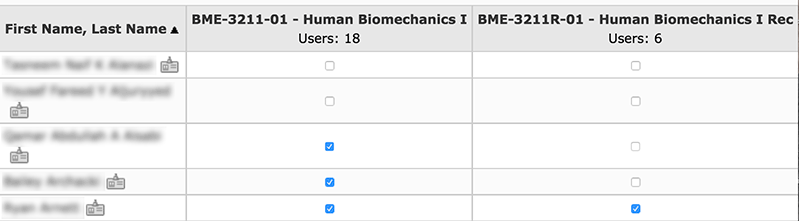
Once the sections are selected, click Save at the bottom of the screen to complete the process.